In the sole interest of safety, I decided to install a roll bar in the ACR.
I spent a lot of time reading, researching and talking with other members that
had roll bars in their car. There are differing requirements depending on the
governing Race group or series (ie. National Autosport Association (NASA), Sports Car Club
of America (SCCA) and National Hot Rod Association (NHRA) ) In general, most any group you
choose to run with will allow you to participate without a roll bar or roll cage if you stay in the
lower run groups. It is highly recommended to have one in the car if you plan to participate
in the higher/faster run groups. The one exception to this rule is if you are running a convertible,
in which case roll over protection is absolutely required no matter which group you run in.
It is highly recommended that you research the rules/regulations of the governing body to ensure
that your roll over protection meets their requirements.
I approached a good friend of mine who is involved with building Spec Race cars for
Drag, Drift and Road racing. I've known Brian for over 30 years and knew that he would be well versed
in the different rules for car safety. http://www.afterhoursautomotive.com
We started by discussing some of the issues that I had like: rear visibility, how it would be attached to the car,
aesthetics. We sat in the car and mapped out a plan.
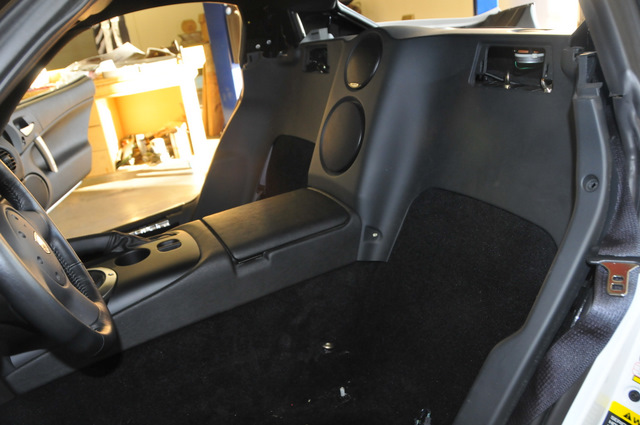
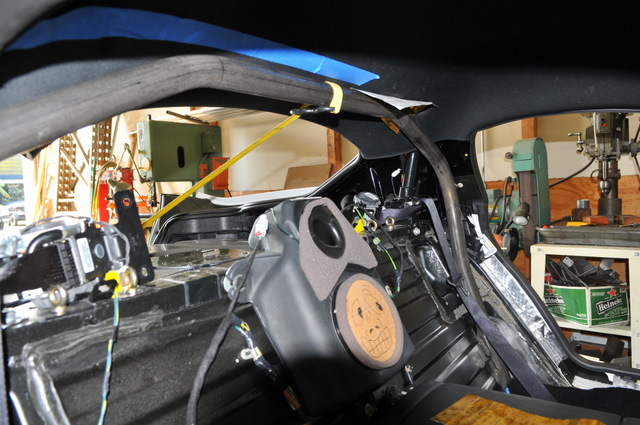
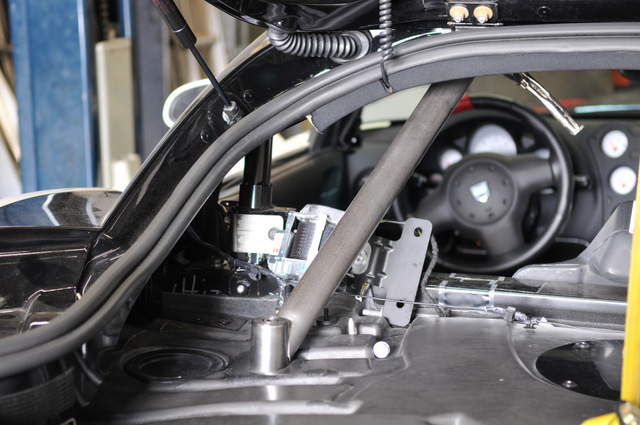
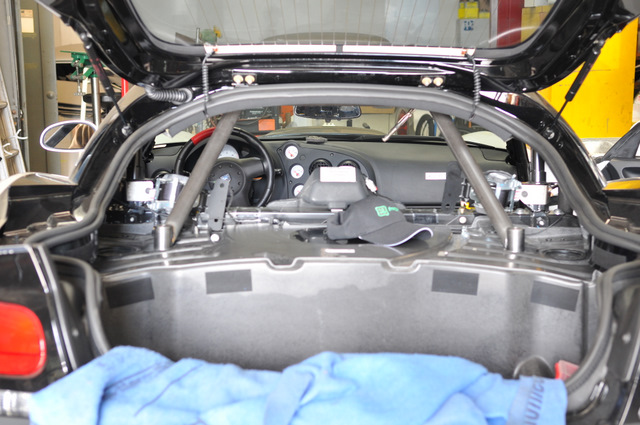
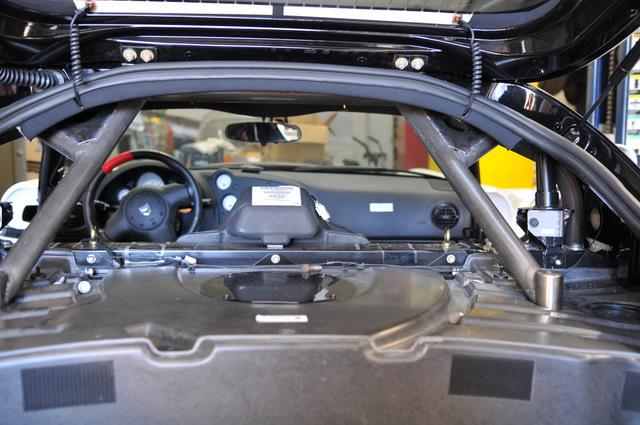
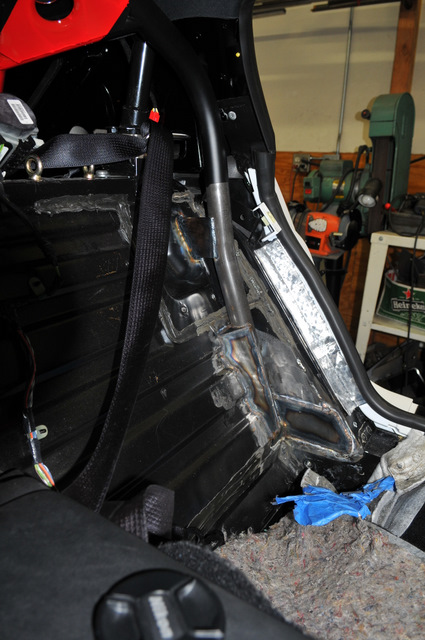
After removing the seats, we were able to remove the rear bulkhead panel.
This gave us a view of the car's structure. We removed the headliner which gave us
a clear view of the factory "deck lid" support bar. There has been some talk about it acting
as a "roll bar". It is made of adequate sized material to offer a reasonable amount of protection,
but it is not properly braced (needs to have at least 4 mounting points to offer the true benefits of
a roll bar).
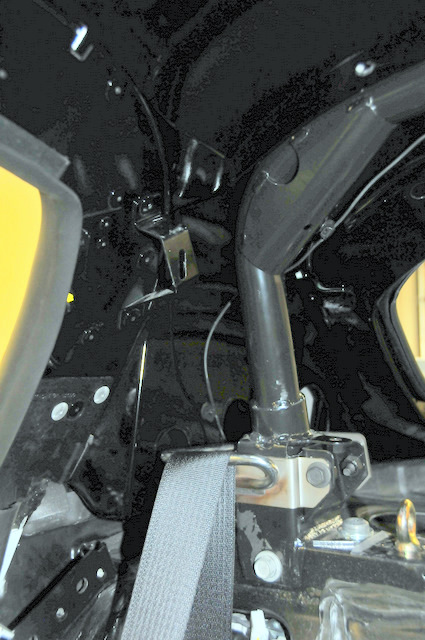
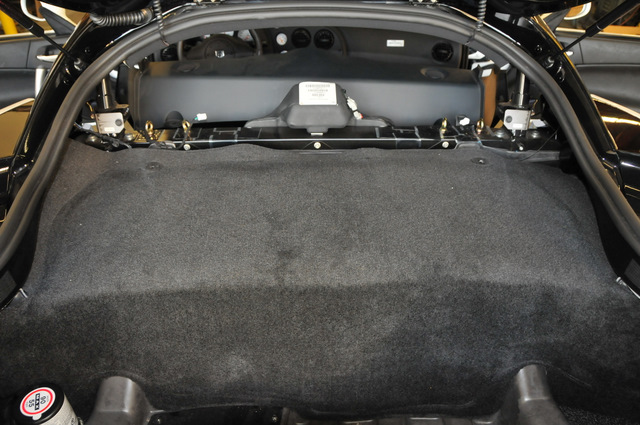
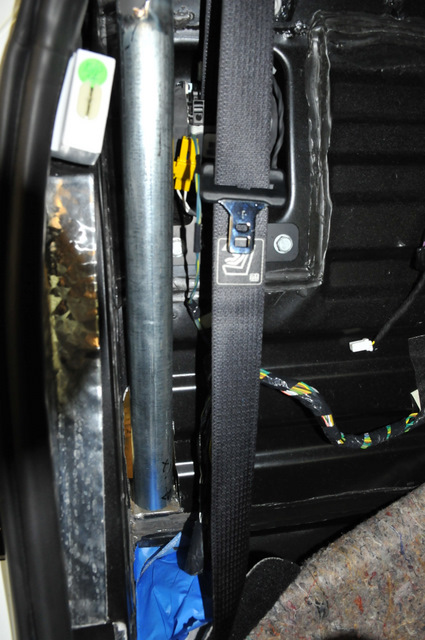
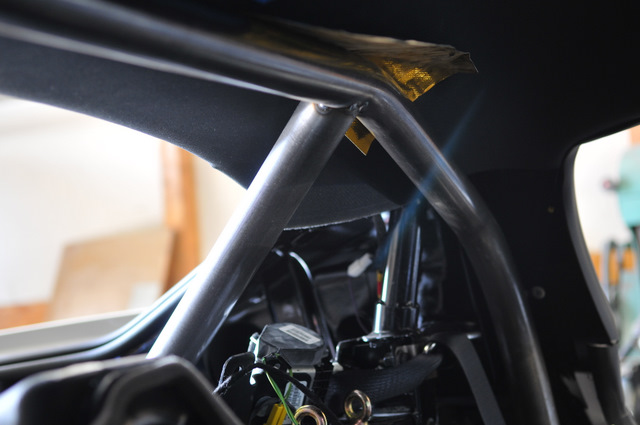
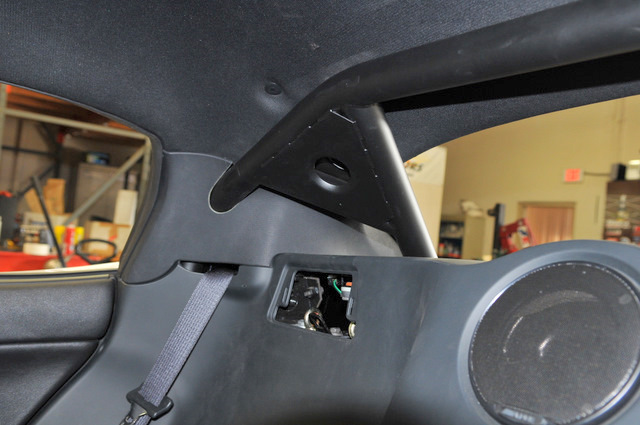
In the picture above, you can see how it is bolted to the rear bulkhead frame.
It has a small "taco" gusset which does help strengthen the bar laterally
The best thing about this bar is that it is basically just below the roofline, which means that the
bar is well above the top of your head. The basic rules for a roll bar is that it must obviously
be higher than your head or helmet and not greater than 6" behind your head. We looked long
and hard at adding the required rear struts to the factory bar to make it a functional roll bar.
There were a few reasons for not going this route, one of them being the fact that it would be
completely hidden ( with the exception of the rear struts ). While it makes for a very clean look
inside the car, it would create problems with tech inspection as the headliner would have to be
removed for access. We decided that this was not a viable option and that a complete roll bar
would have to be fabricated.
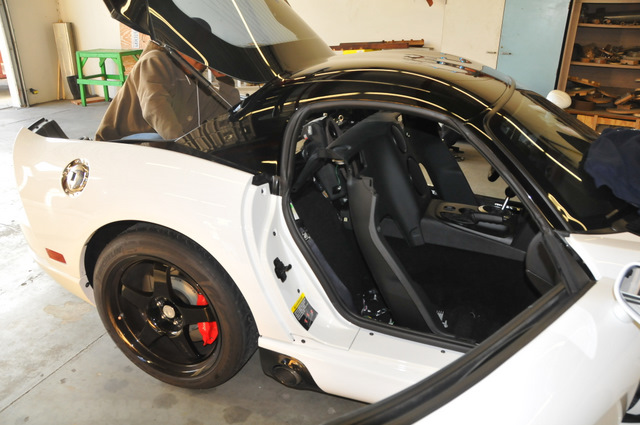
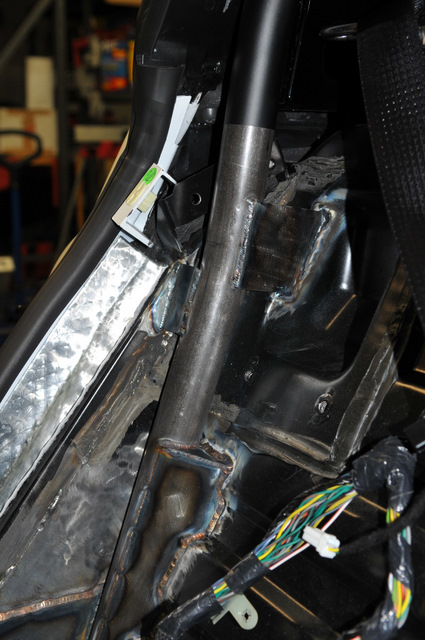
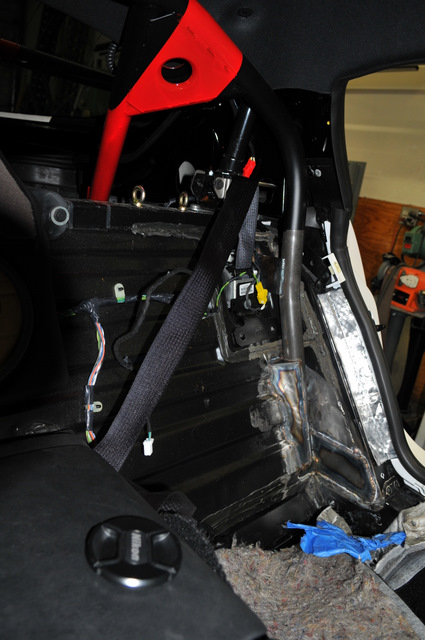
We decided to pull off the rear wheels and the fender wells to gain access to the cars frame.
The main frame cross member was the ideal place for us to anchor the main roll bar hoop.
We cut away the bulk head sheet metal and made up a model of the roll bar using electrical
conduit.
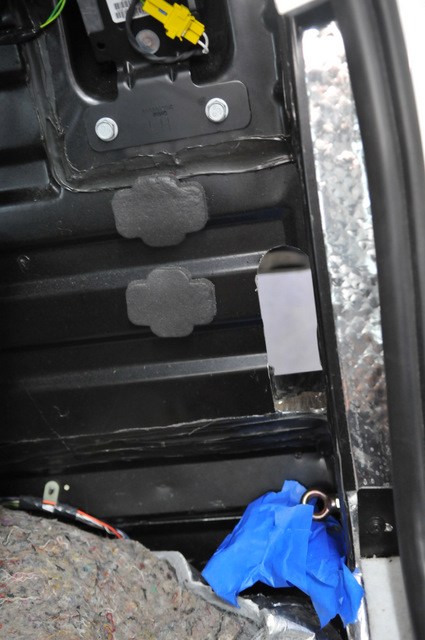
This is the passenger side.
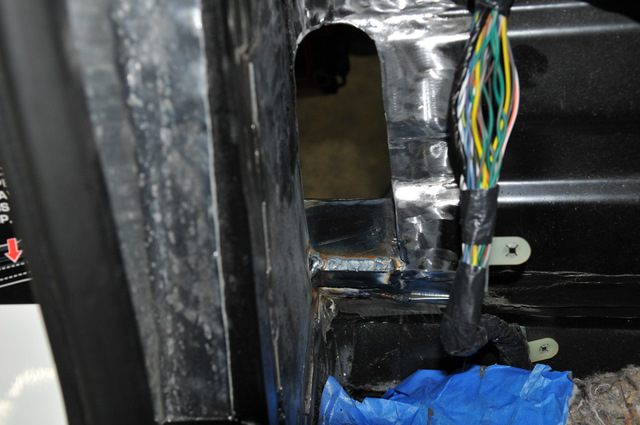
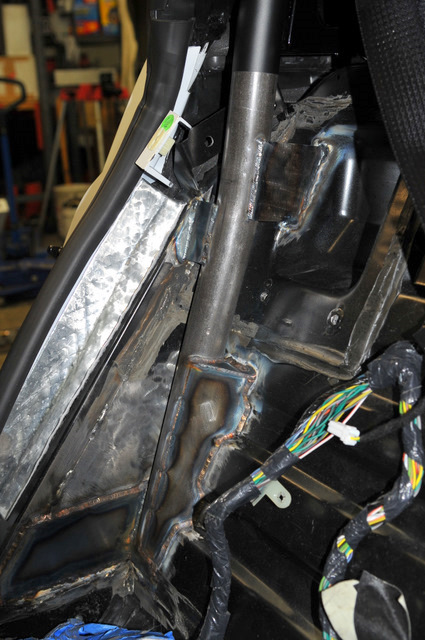
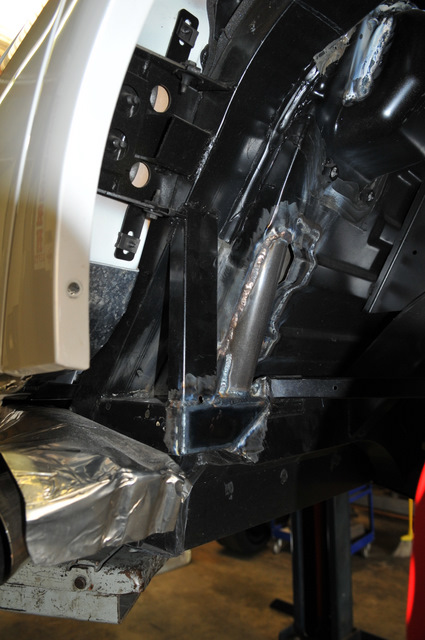
This is the hole cut out on the drivers side
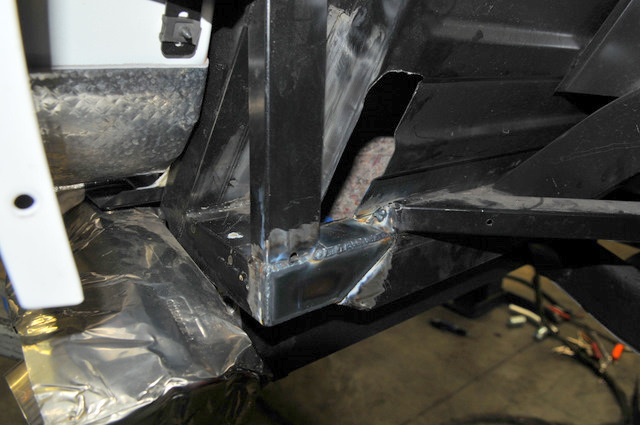
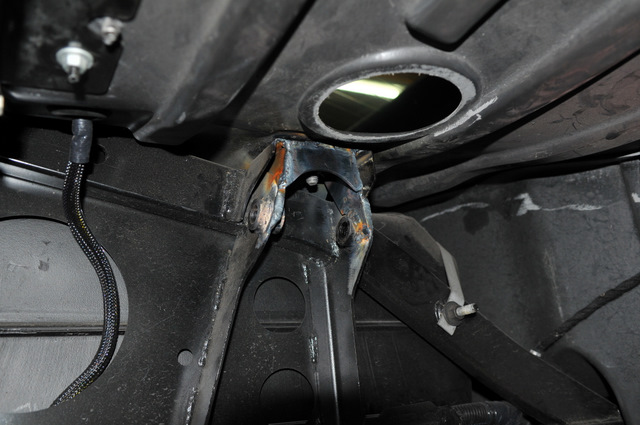
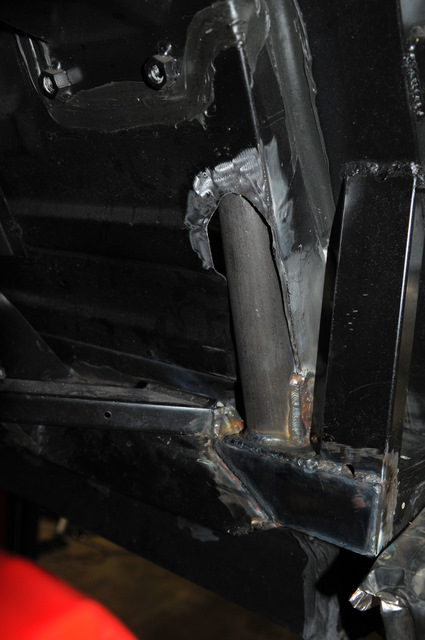
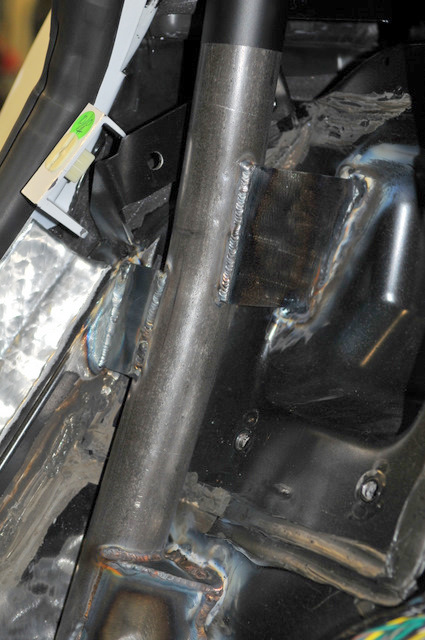
Brian wasn't satisfied with just welding the bar to the top of the frame cross member.
He cut 1/8" plate and welded it to the top of the frame cross member.
The he added another 1/8" vertical plate which accomplished 2 things,
it tied the frame rails together and capped the end of the frame rail which
runs fore and aft. The fore and aft main frame rail did not have the end cap which
made it susceptible to crushing.
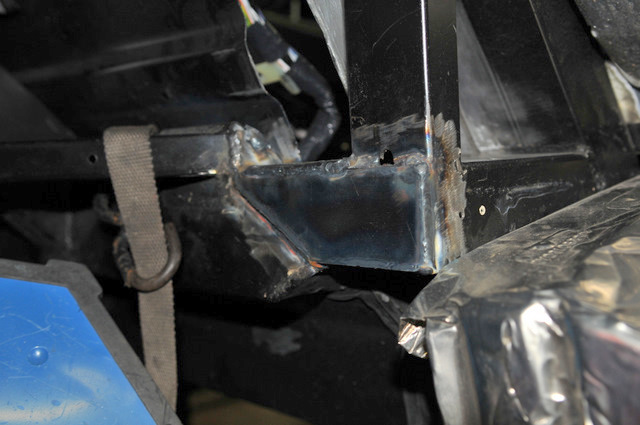
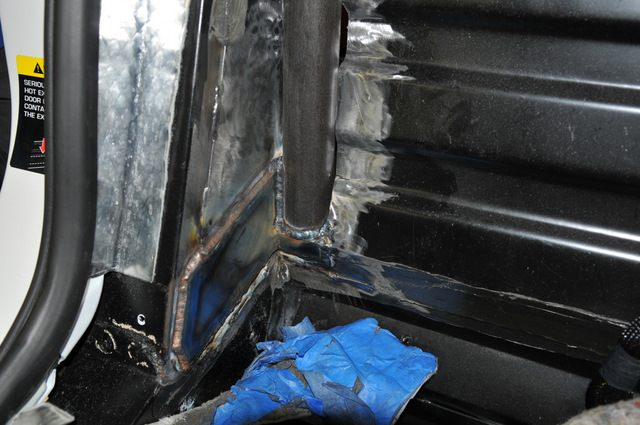
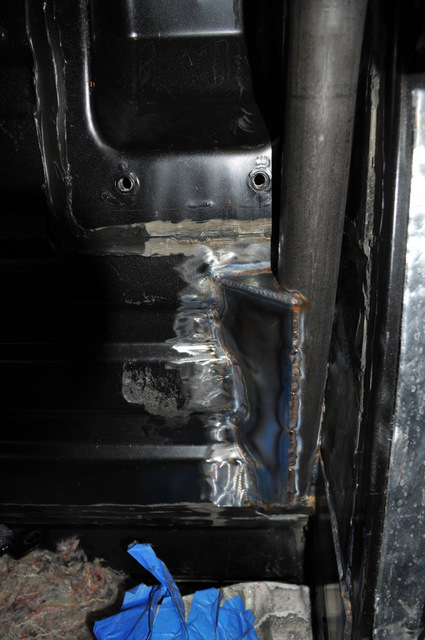
Passenger side shown above and the drivers side shown below.
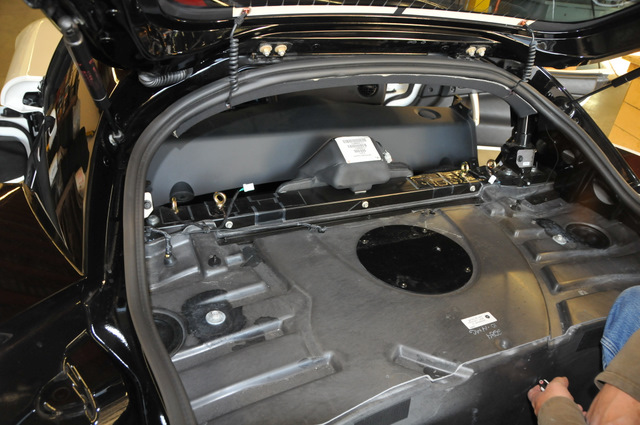
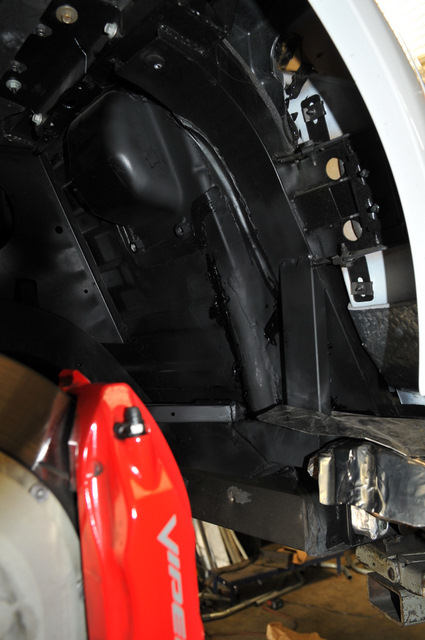
With the reinforcements done on the main frame which supports the main roll hoop,
we turned our attention to the rear strut support mounting points.
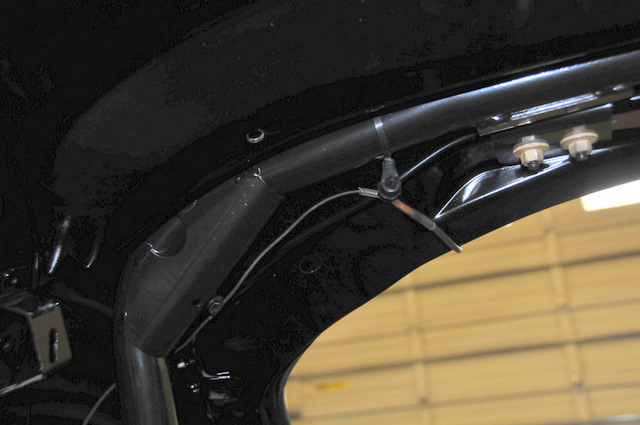
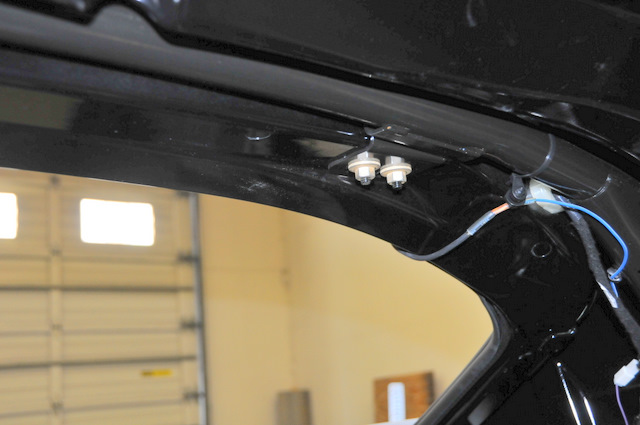
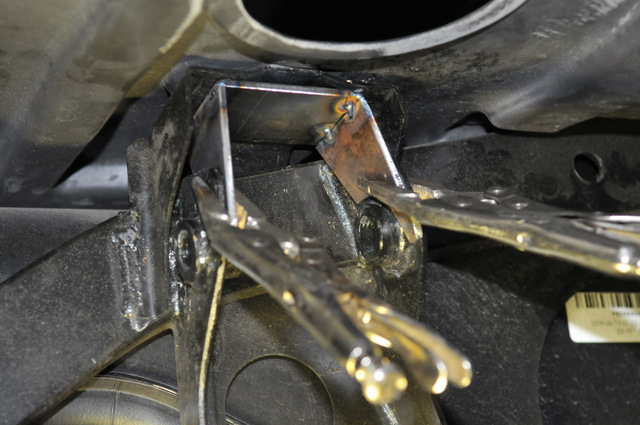
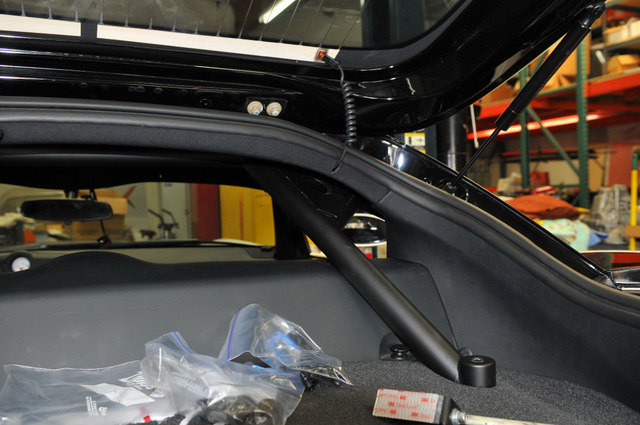
As seen in the picture below, the obvious place to mount to was just
above the shock tower.
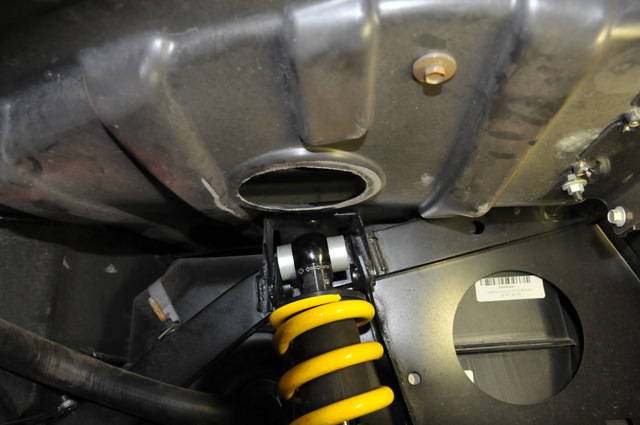
Upon further inspection, Brian found that the "support" was made out of
14 gauge sheet metal (about 1/16" thick) and was really in there to support the fiberglass
trunk tub. It doesn't even have any vertical support gussets and would be prone to excessive
flexing over time.
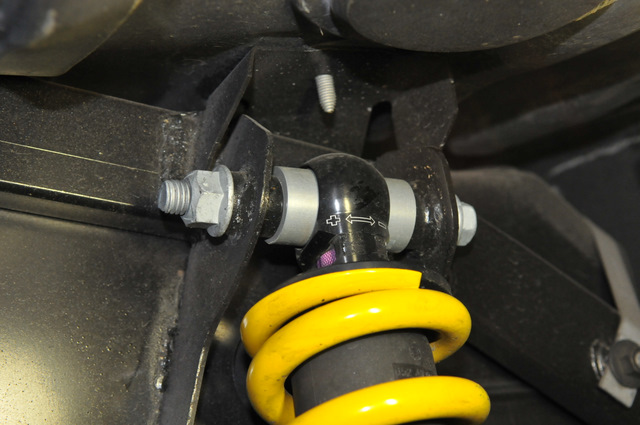
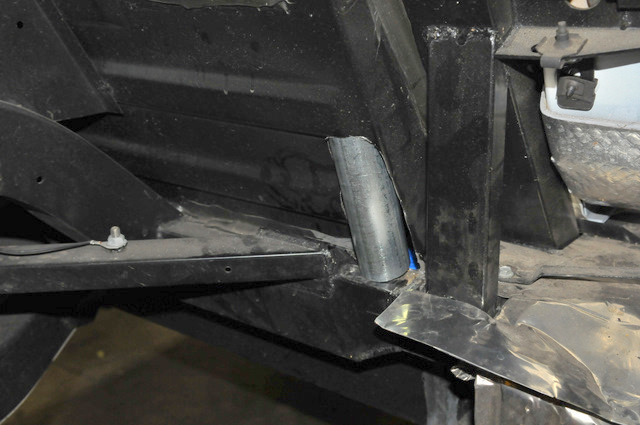
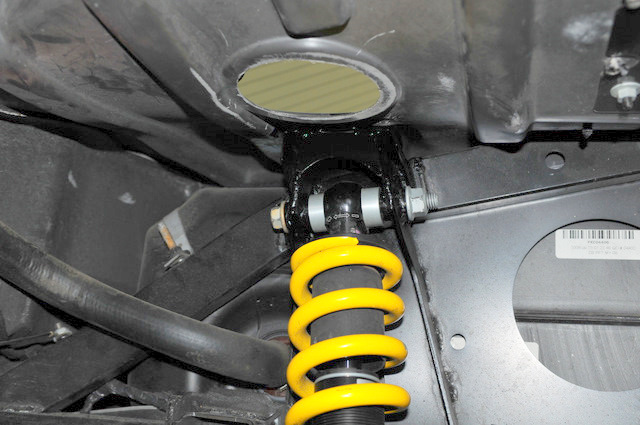
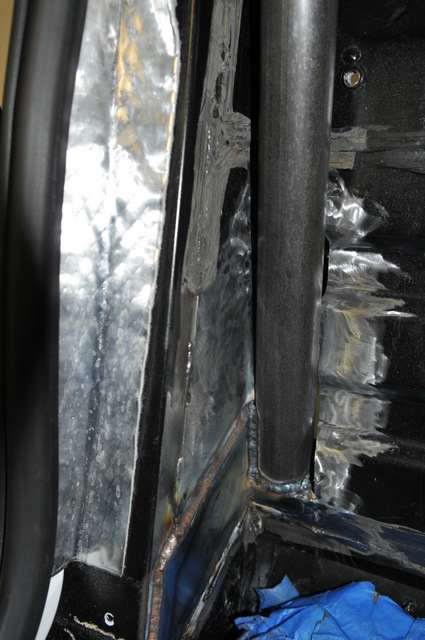
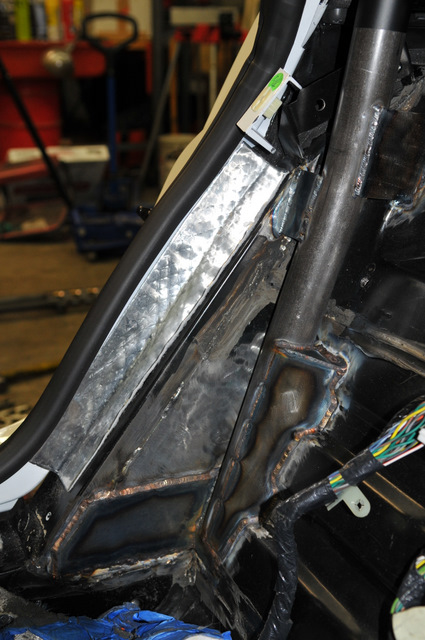
Ideally the rear support bars should be mounted to the frame. The top of the
shock towers are made from 1/8" metal and obviously very stout. Brian added
1/8" vertical plates with a top cap to strengthen the existing support bracket.
This would tie everything together and make it integral to the frame.
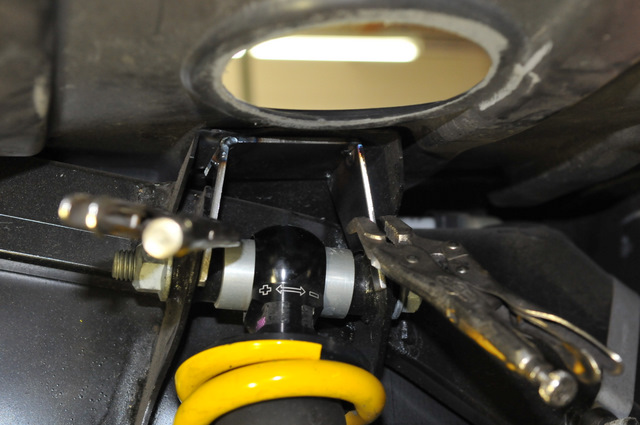
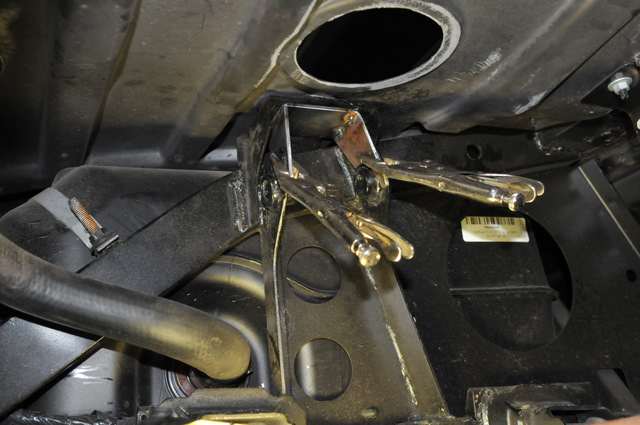
Once the side pieces were welded in, he added a front gusset plate to add
more rigidity to the structure.
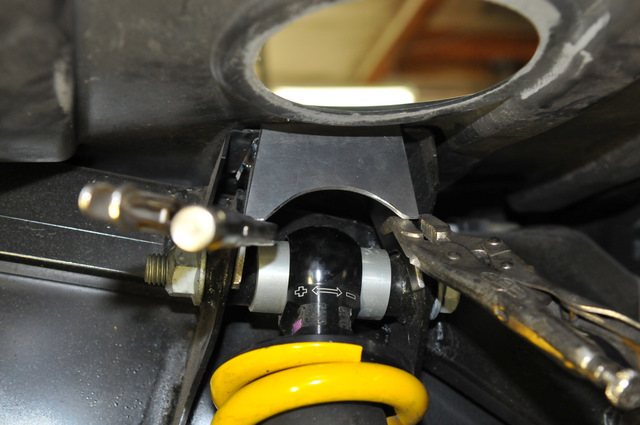
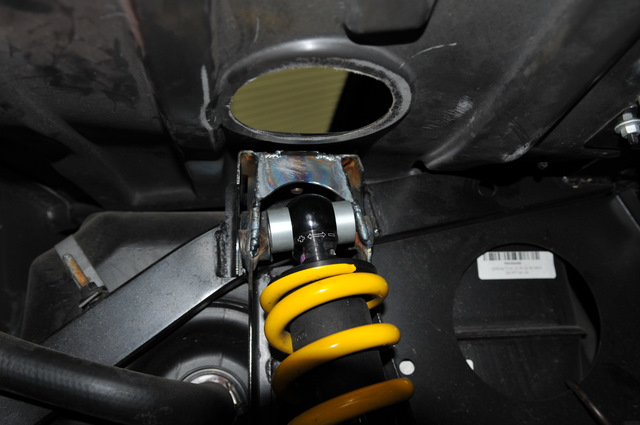
After both sides were welded up, we wire brushed it, painted it and re-installed the shocks.
Now that all the support points were properly reinforced, we were ready to
start bending the chrome-moly tubing. There are 3 acceptable materials for roll bars:
ERW (electric resistance welded) is a mild flat sheet of steel that is rolled into a tube
and seam welded. It is the least expensive, but not as strong so you would have to
use a larger tube to obtain the same strength.
DOM (drawn over mandrel) is essentially ERW that has been drawn over a mandrel to
even out imperfections of the ERW and help make it stronger.
Chrome-moly is made up of chromium and molybdenum which is by far the strongest choice.
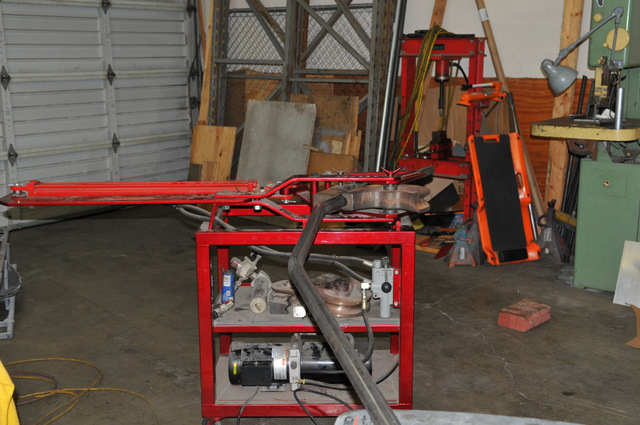
It takes a special talent and knowledge to be able to make the bends in the
proper planes at the correct angles. Brian purposely did the bending with the phones
off and me at work so he could concentrate, otherwise it would have been a very
expensive piece of scrap tubing.
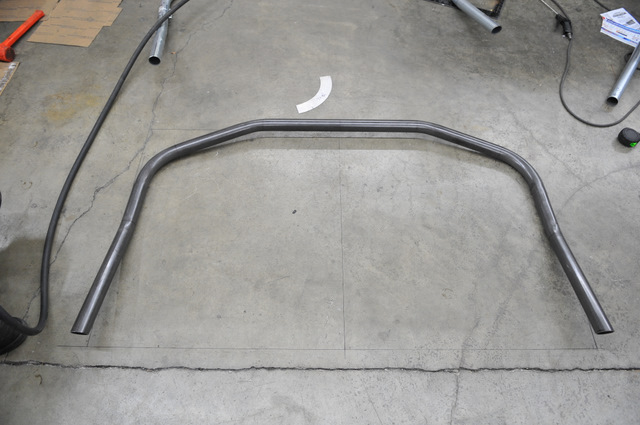
It was a perfect fit !
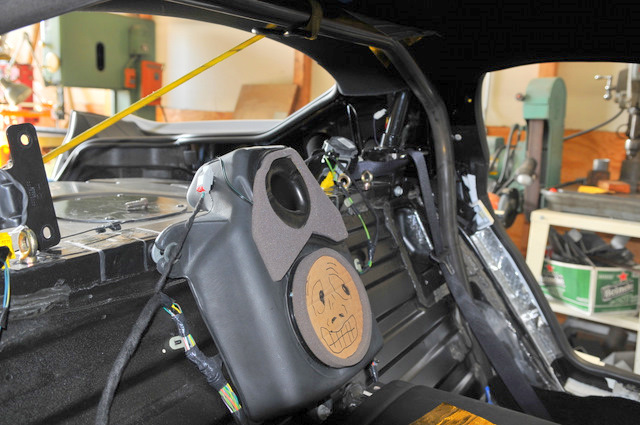
Check out my sub woofer !
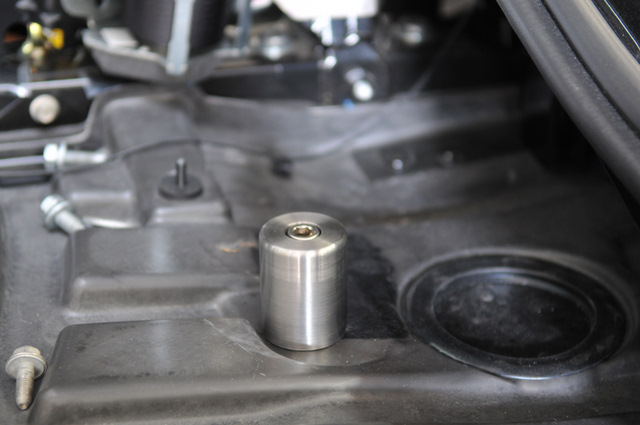
Above, you can see the solid steel spud that we made which bolts up to the
bracket above the shock tower. Brian tacked in the rear support bars.
Once the rear support arms were tack welded, we removed the entire thing from the car.
Additional corner braces were added and dimple plates finished it off and tied
the entire roll bar together.

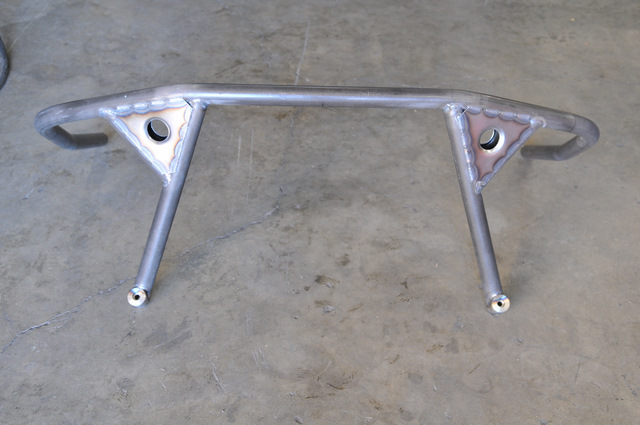
With all the welding complete, we test fitted it in the car one last time before sending
it out for powdercoating. PERFECT FIT
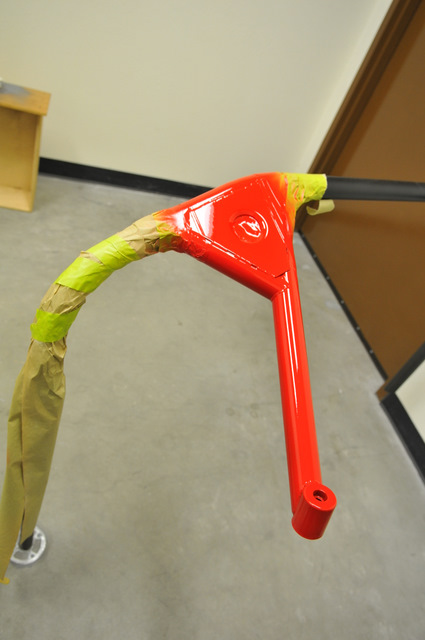
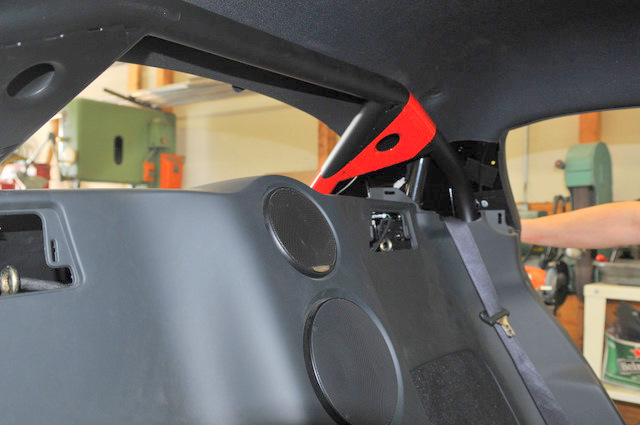
After powdercoating, I had to add a special touch to the roll bar.
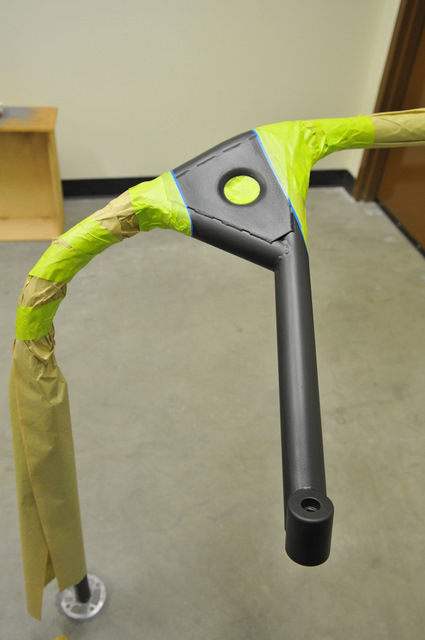

Red Driver's stripe.
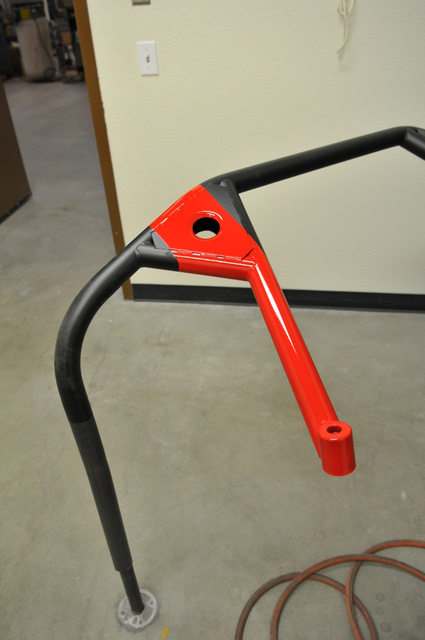
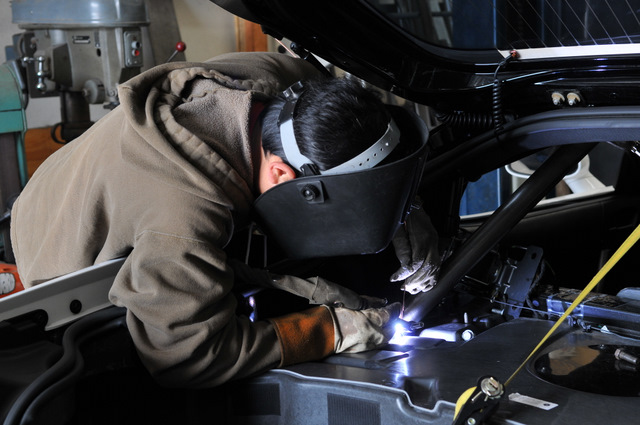
With all the finish work done, it was time to install and weld it to the frame.
After welding it to the top of the frame cross member, Brian added another 1/8" side plate
Then he added a 45 degree cross plate and added an upper support brace
which was just plain overkill. He was quite animate about providing me with
the ultimate roll bar connection.
The roll bar is now an integral structural stiffener to the frame.

We sealed all the welds with a urethane sealant and then sprayed it
with black undercoating.
Once the paint was dry, we started putting the interior back together.
I cannot say enough about the quality and attention Brian put into my roll bar.
I spent every hour I could working on the car with him and learned a ton about
roll bars and roll cages as well as safety systems incorporated in true race cars.
This is what led me to adding a full fire suppression system to my car.