The center console in the Viper has a tendency to crack.
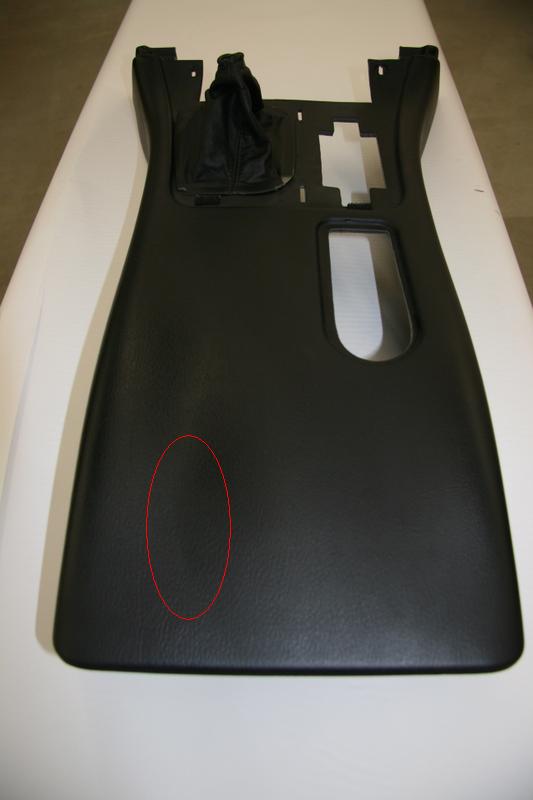
Mine had a very small crack right where my elbow rested on the console. It was barely visible, but I wanted to get it fixed before it got worse. A new center console cost upwards of $700.00.
In order to get the center console out, you must first remove the ash tray and the shift knob.
Once these are out of the way, you can CAREFULLY remove the plastic face plate. It has 6 tabs which snap into slots in the dash along with two velcro tabs.
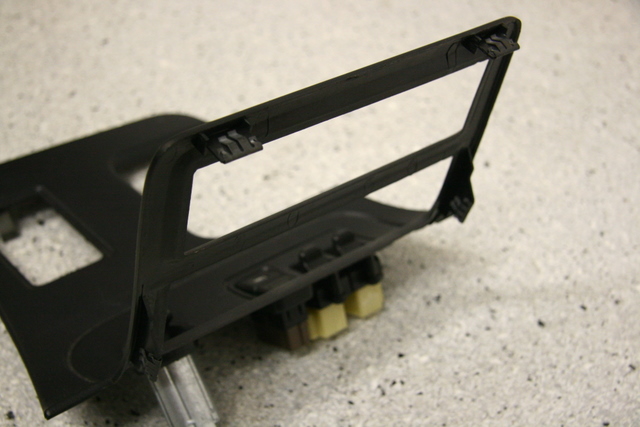

I started down at the bottom where the Velcro tabs were and carefully popped it up.
Knowing in advance where the tabs are will aid in where to apply pressure to get the tabs to pop out of the slots in the dash.
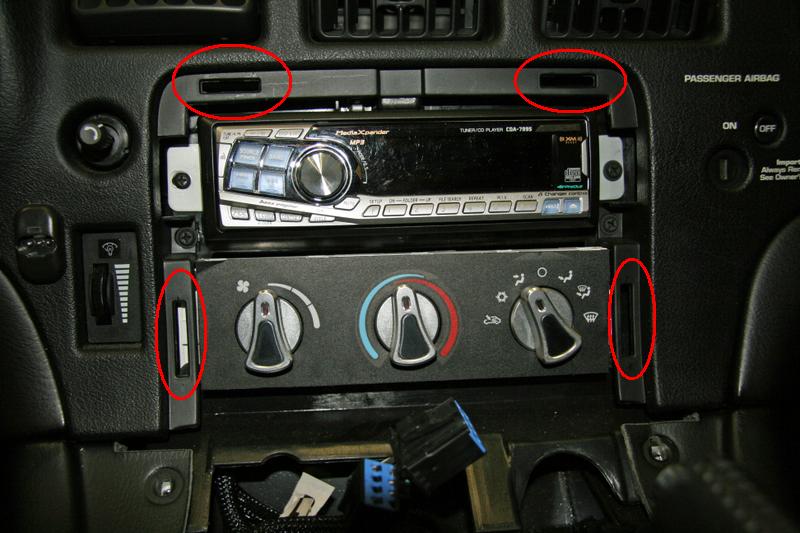
Shown in the picture above are the locations of the slots in the dash.
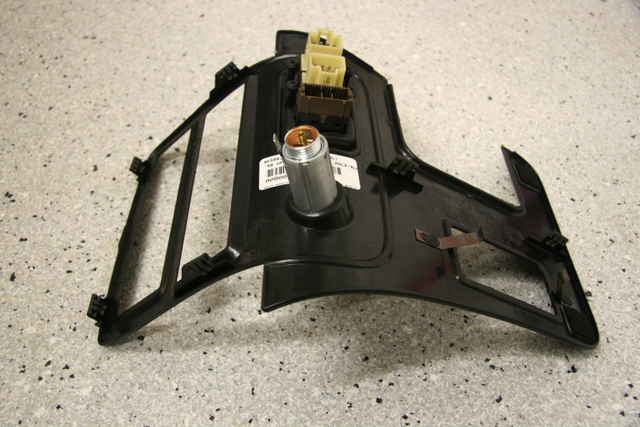
Disconnect the window switch wiring harnesses and the 2 wires to the lighter and set the panel aside.
Once this panel is out of the way, you will see 2 screws which secure the front end of the center console to the dash.
There are also 2 screws which are at the rear end of the center console right next to the seat back bolsters which need to be removed as well.
Raise the emergency brake up and lift the center console out.
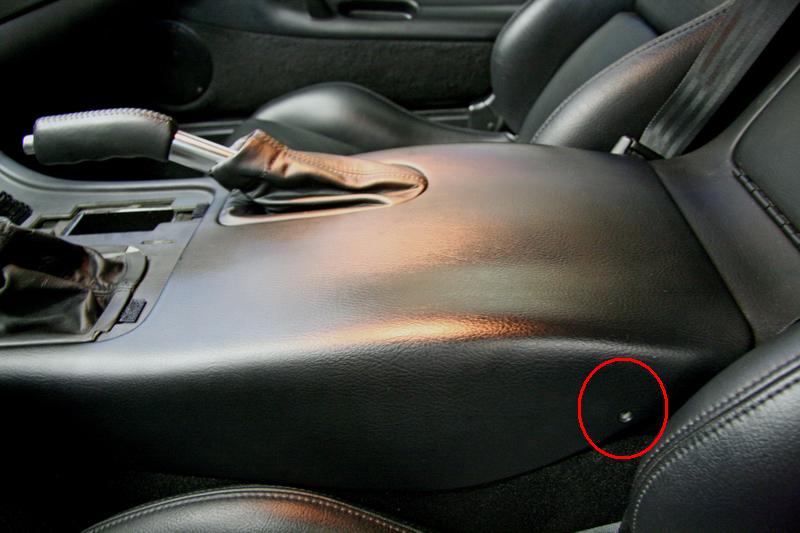
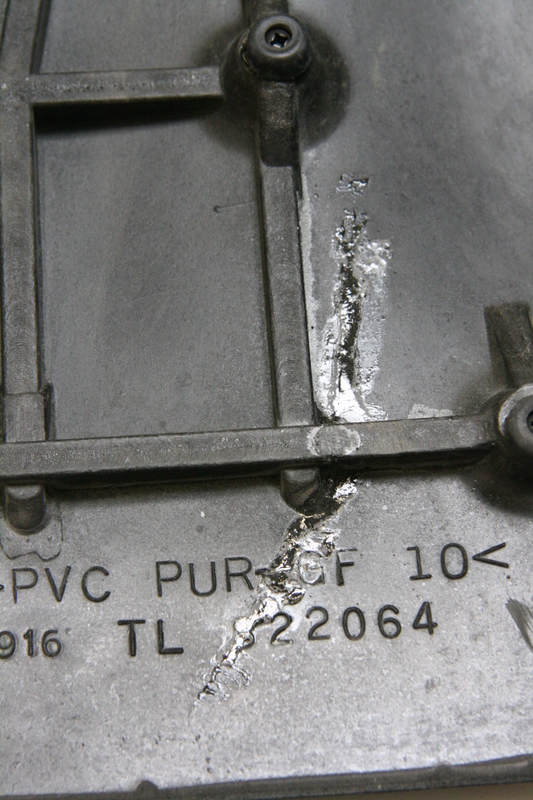
You can barely even see the crack from the top side.
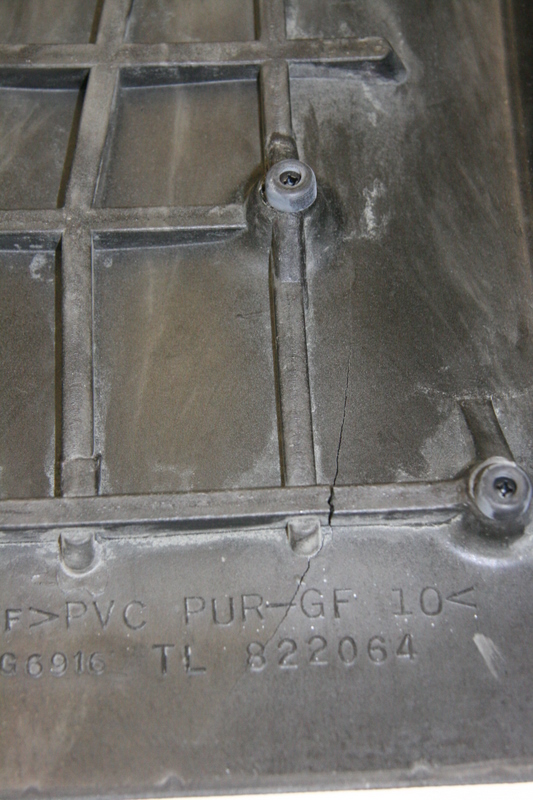
You can clearly see the crack in this picture.
I read a bunch of posts regarding this problem and was planning on using fiberglass to reinforce the panel.
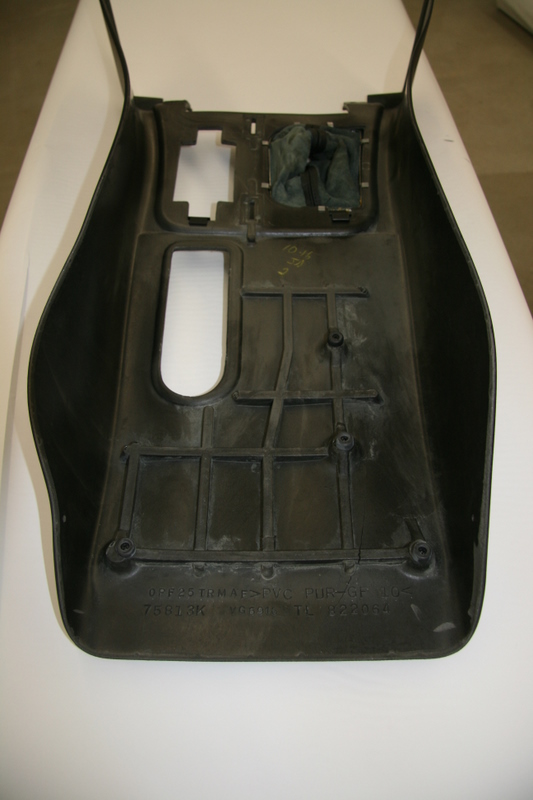
Once I had it out, I realized that getting any type of glue or resin to stick to the underside of this panel would be difficult, even after surface preparation.
It appeared that there was a lot of mold release still impregnated in the panel which would make it difficult for most glues and resins to properly stick to it.
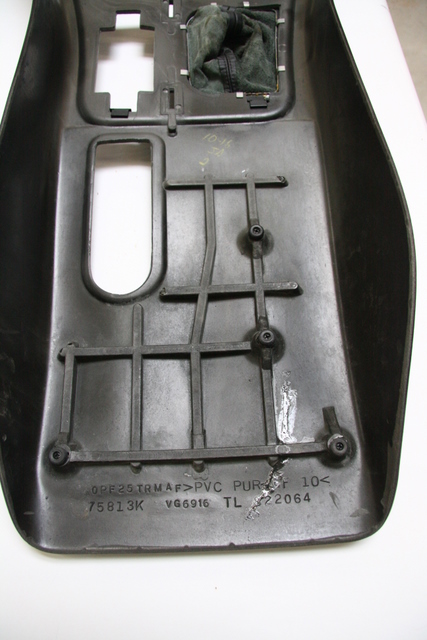
I ended up using two types of Cyanoacrylate (super glue) to glue up the crack. I first squirted the thin (water like consistency) in the crack first to gain deep penetration. Then immediately filled it with a second thicker super glue to give it strength. Once both glues were in, I sprayed the accelerator on it and let it cure for a couple of minutes.
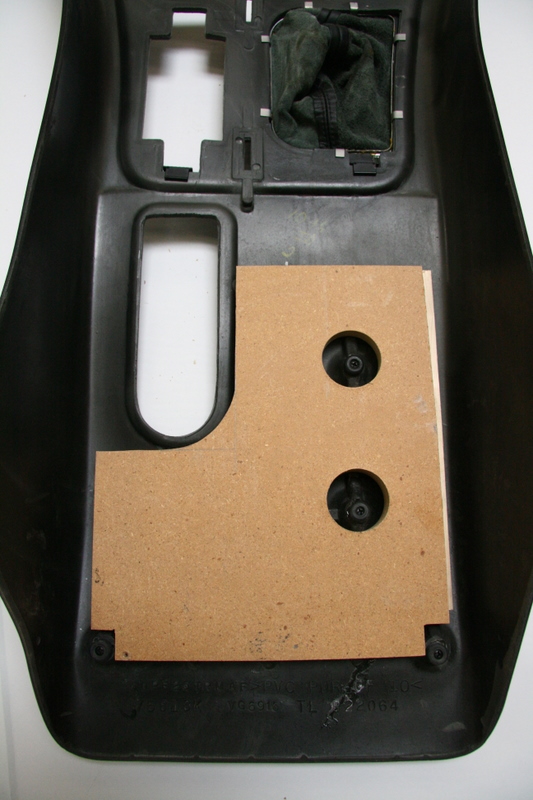
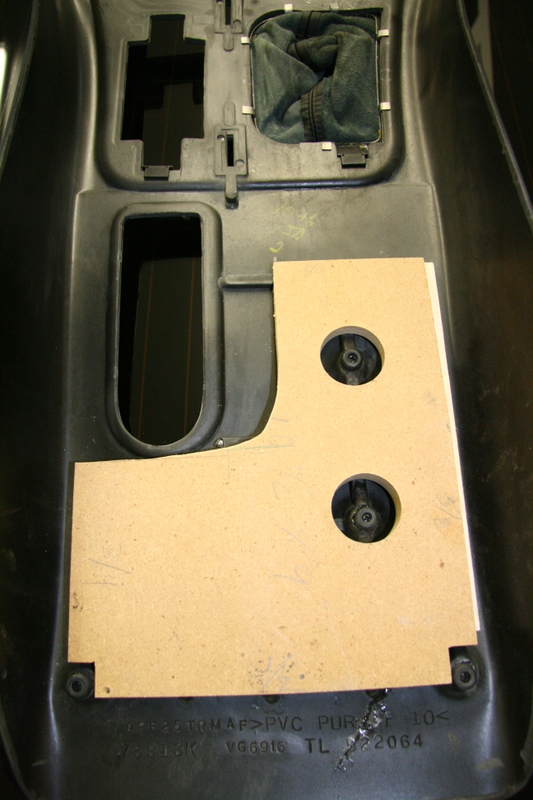
As you can see in the picture above, there are 4 little rubber pads screwed to the underside of the center console. These are the only 4 points which support the panel. Any pressure on the console in between these 4 points will result in a cracked panel. I decided to reinforce the entire panel with a piece of MDF board.
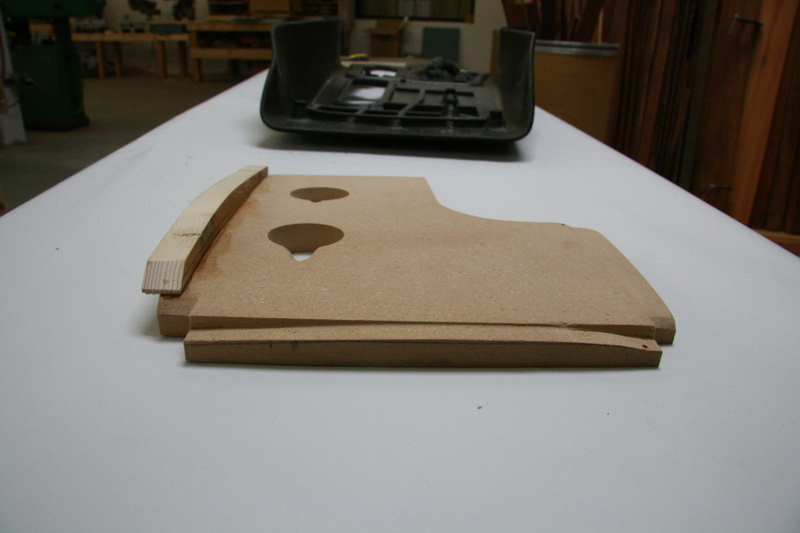
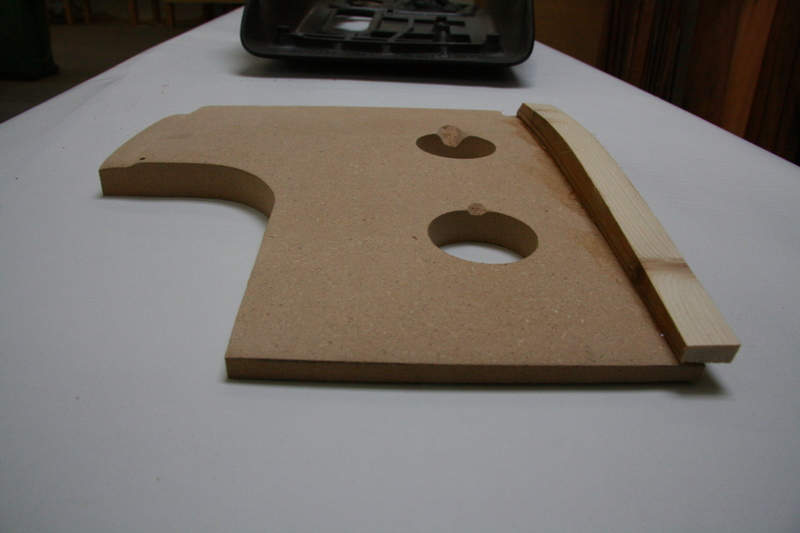
I started out with a piece of 3/4" thick MDF cut to a size of 9" x 11".
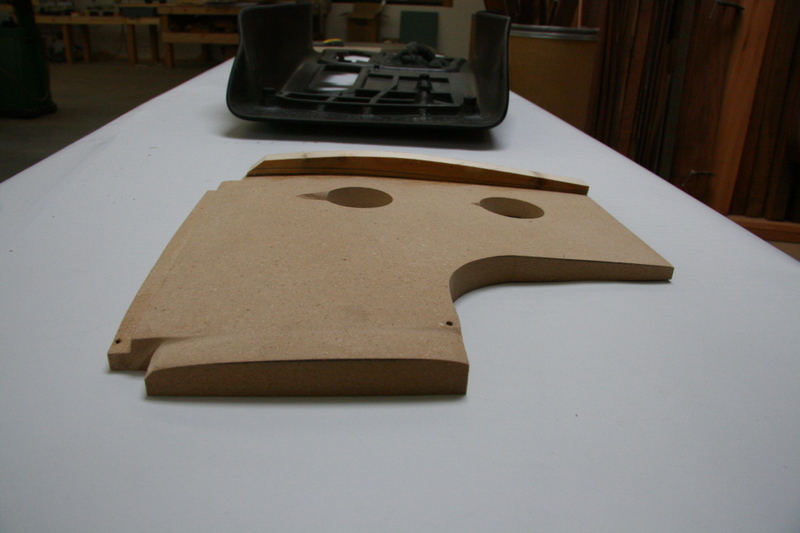
Unfortunately the support ribs were not flat or the same depth, so I had to shape the underside of the MDF to properly fit the contour of the bracing.
I thinned and shaped the panel till it had 100% contact with the bracing and waseven thickness with the 4 screw pads.
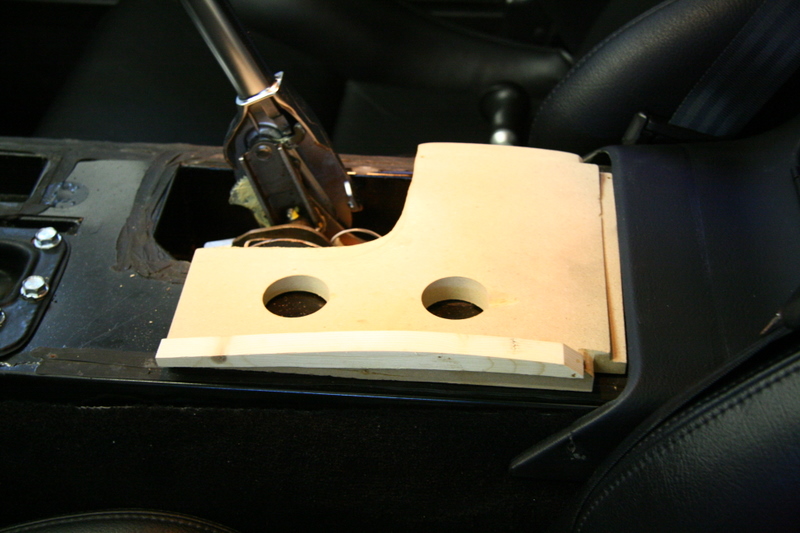
I put a thin bead of silicon on the ribbing and set the MDF panel on the console.

The center console is now well supported and will hopefully resist any further cracking.